Tuesday 28 October 2014

Salominds in the Classroom-building a redd

We have been talking about each stage of the salmon life cycle.

Once the salmon has made it up stream the female begins to build a redd ( a sort of gravel nest) by swishing her tail.  Once she has laid her eggs the male covers the eggs with his milt to fertilize them.  The eggs should be protected under the gravel from predators and other dangers.

The children did an experiment to see how a successful redd is built and what can happen if there is not enough vegetation on the river banks.

They made about 30 tiny eggs out of clay and then collected different size pebbles.  They put the pebbles in two different containers and then placed the eggs in the pebbles.  On one side of the container they put a layer of sand.  Once held up the side of the container to replicate the river bank and the other poured water over the eggs.  In the second bowl they cover the sand with a green cloth to represent vegetation.  They then observed what happened to the eggs.


They both concluded that the vegetation overwhelmingly kept the eggs protected while without the vegetation the eggs were smothered in sand and washed around the container.

Sunday 26 October 2014

Human Anatomy-The Digestive System

 We've finally made it to the digestive system!  Yay!  I've been looking forward to this one because there are so many cool activities to do.

After reading some books and watching a few videos on the digestive system as well as watching the Magic School Bus episode we got to work.

We got our ideas from this great blog post.
L measured out each part of her digestive system starting with her mouth using different coloured pieces of string.  I helped her tie them together and then she labelled them with their length.
mouth 3 inches, oesophagus 10 inches, stomach 6 inches, small intestine 15 feet, large intestine 4 feet.
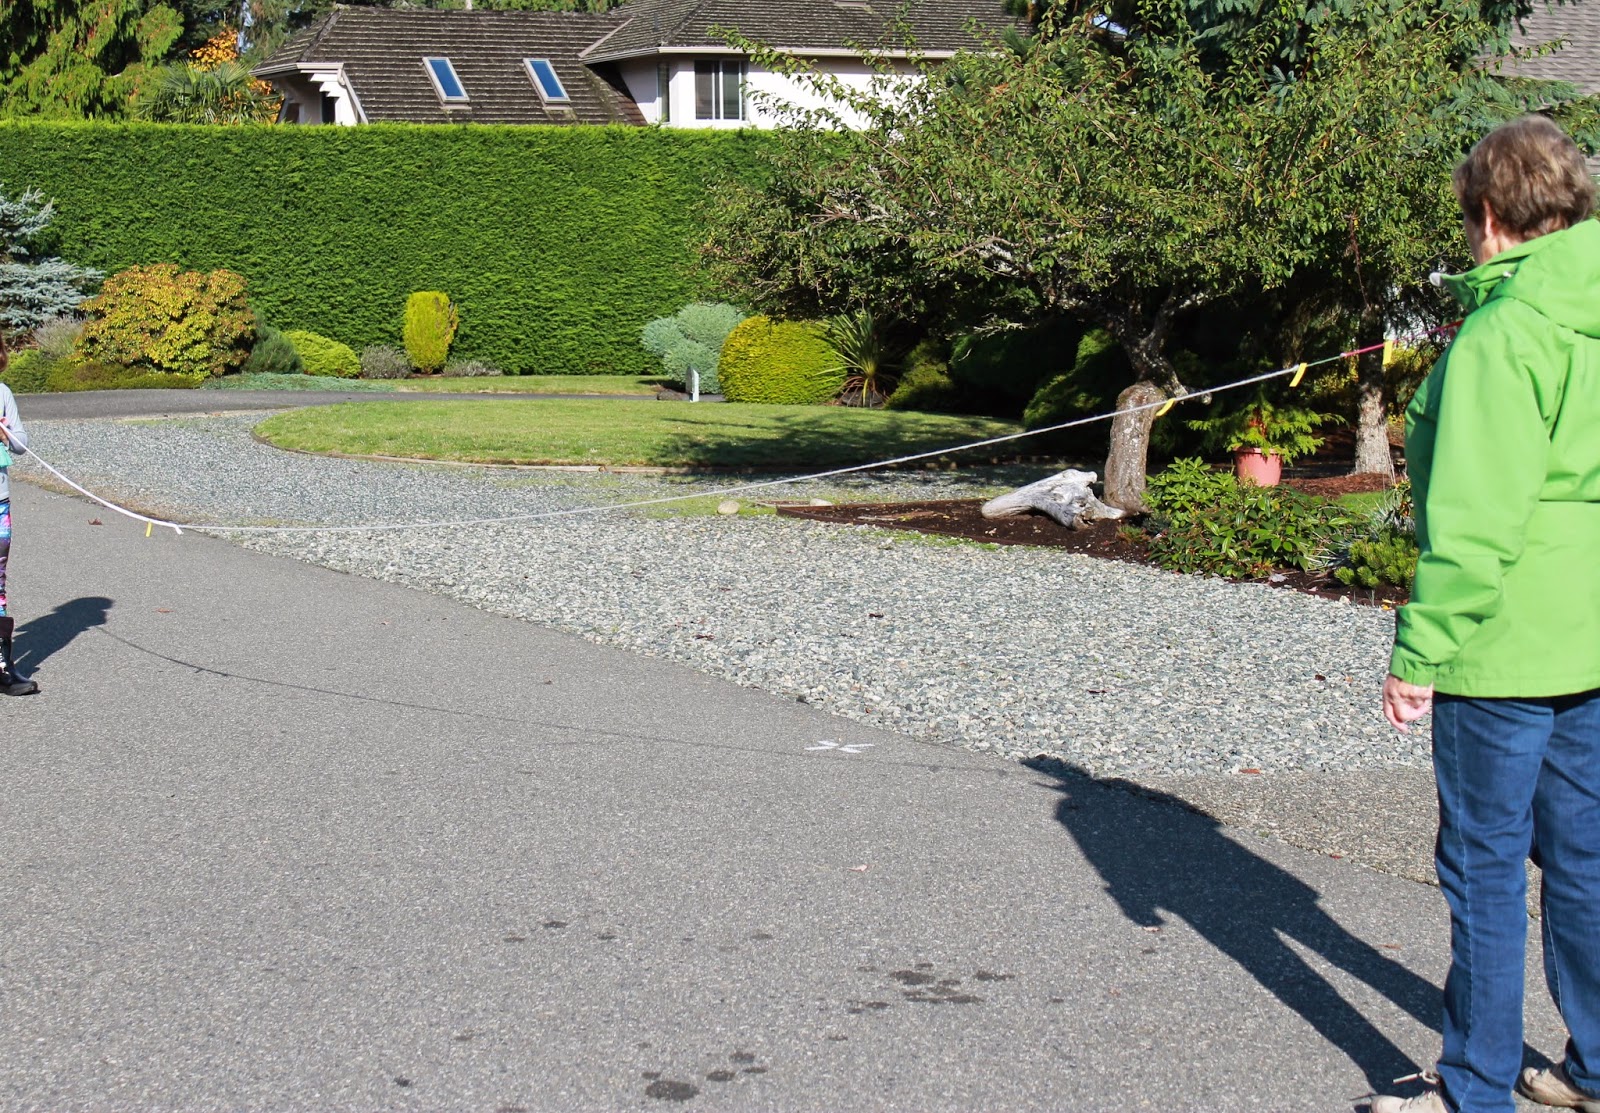
Once she had them all tied together we went outside to see how long her actual digestive system was.  She was floored and couldn't even believe that all fit inside her tiny body!  


I coiled it all on her stomach to get an idea of how it all fit in.


Now this was a super fun hands on demonstration of how the whole process of digestion works.

First off L cut up an almond butter sandwich to represent biting.
 She then mashed it up to represent chewing with her back molars.
 Then swallowing and going down the oesophagus into the stomach.
 Pour in some coke for stomach acid.
 Mash it up with your hands to represent the stomach muscles digesting.
 Once it's an ooy gooy mess pour it into the small intestine or in this case black sock.
 Use you hands like the muscles squeezing out the nutrients that are absorbed into the blood stream.
 Use paper towels around the sock for the large intestine to get all of the moisture out.
 Cut a hole in the tip of the sock and then for the grossest part.  Well you can guess....

Awesome!!!

The River System


We have moved on in our geography unit to rivers of the world.  I gave L a list of the top 10 longest rivers in the world and she had to find them in her atlas and then mark them on a world map.

We also went into more depth about actual river systems and after looking at some handouts on rivers and answering some questions L made up this diagram.

I love how she added in the little bird.


We found a wealth of information on the fantastic site Kid World Citizen.

Thursday 16 October 2014

Human Anatomy-the Muscular System


I wasn't too excited about doing the muscular system since I wasn't sure what we were going to do for it but L really wanted to do it next so here is what we came up with.

We read some books from the library and talked about the three different types of muscles-smooth, cardiac and skeletal.  We also talked about how muscles work in pairs and L did an experiment observing how her bicep and tricep work together.

Together we made this model of how the muscles work on the arm using elastics.  The cardboard tubes represent the bones of the arm.  It was pretty tricky getting the elastics to fit into the holes and tie them etc. As L lowered her arm she could see how the elastic expanded and contracted.


L added the muscles to her body using tissue paper.  She drew red lines with a crayon to represent the stripes in the muscles.  She then labeled the major muscles.

During the labelling Daddy came home and it was perfect timing as when he got out of the shower I asked him to come to the kitchen with his shirt off.  He has very little body fat so we were able to see each of the major muscles in action and L was able to name them.

Next up was seeing how the tendons work on the hand.  I found a tutorial here.  L and I cut the straws and she threaded embroidery thread into them and L tied a bead to the end.  I did the tricky work of taping the straws to the paper.
It was really neat to see how pulling the threads all together would make the fingers move or just pulling one would make that finger move.

Wednesday 15 October 2014

Ocean Zones

L has been interested in the different zones of the Ocean for ages and I keep promising her I will help her make a diorama.  Well that day finally happened today.

L had taken out two of her books on the subject last night and was reading them before bed.  This morning she had them out again and was reading them to LJ.  This is where the beauty of homeschooling comes in.  I scrapped all previous plans and asked if she wanted to make a diorama.  She was all over it.

We used a shoe box and L painted the layers with different shades of blue.  We were lucky enough to have an Ocean sticker book from the Natural History Museum that has all of the deep sea creatures.  Once she added all of the animals she typed up the labels and glued them on.


The books she used were 100 Facts Deep Ocean by Miles Kelly and Ocean Sticker Book from Natural History Museum.


Just love having the flexibility to follow L's interests and expand upon them!

Monday 13 October 2014

Topographical Maps

Last week we were all about topographical maps.  We started off by looking at a handout on how topographical maps are made and looked at the physical picture of a place and then the topographical map.

Then the fun began.  L made up a tiny mountain range with two peaks.  She trace around it and then I took a piece of string and sliced a layer off the bottom.  She traced her mountain range again.  I kept slicing off layers and she kept tracing them until at the end she had made a topographical map of her mountain range.  We decided that each layer would represent 10meters so at the end L was able to see how tall each peak was.  It was so cool that we tried a few other types of mountains.


Once she had a firm understanding of how a topographical map is made she matched the landforms on this sheet.  L wanted to make one of the landforms so we did the opposite and made layers from one of the topographical maps and put them together.

Yup.  A topographical map of L's hand.  She loved this!