Sunday, 21 December 2014

The Circulatory System-Blood Types

Who knew learning about blood types could be so much fun!!  I found these cool activities on Pintrest.  The first one is how to test which blood types are compatible with each other.
L labelled each of four glasses with each of the basic blood types A, B, AB and O.  She then added red, blue, and red and blue food colouring to one glass each.  She left O clear.

 L then chose a blood group to be a donor and one to be a receiver.  She poured a bit of the receiver into a clean glass and put some drops of the donor into it.  If the receiver blood turned colour then they weren't compatible.
 L recorded her results on a chart that I printed off from here.  By this experiment she was able to determine which blood types were compatible and which could be universal donor and receivers.
 We then opened up our blood bank and started a blood drive.  L got out lots of her stuffs and porcelain dolls and they all donated blood.  L put in the IV and determined which blood type each stuffy had and then placed a blood type sticker on their chest.  She wrote on a card what type of blood was donated and put it in our blood bank.  Then all the stuffies went of and had fun.  Soon some of them got into car accidents and fell off cliffs!
 They were quickly brought to the hospital and needed blood transfusions.  L could tell their blood type from the sticker on their chest.  She then had to check the blood bank to see if we had blood that was compatible.  

L looooved this game so much.  She was so excited to have all of her dolls get blood transfusions. What a great way to learn about blood.  I got this idea from Highhill Homeschool.


Sunday, 7 December 2014

Human Anatomy-The Circulatory System

We've moved on to the Circulatory system.  L already knows quite a bit about this system from watching the Magic School Bus episode on this topic.  We read some cool books from the library and found out why we shiver and why our feet fall asleep.  L did a colouring page on the heart colouring the different parts blue or red depending on if they carried oxygen or carbon dioxide.

We also talked about our pulse and L did an experiment on how our pulses change when we exercise and then described why this happens.

Then we got to the real fun!  I found this fantastic game here for free!  We love free!
We spent part of the morning colouring and assembling the game and then excitedly played it.


 The main gist of the game is that each player gets a red blood cell.  They spin the spinner to move however many times the heart beats on their turn.  They have to move around the body collecting oxygen and nutrients from the lungs and intestines and then drop them off at different cells around the body where they pick up carbon dioxide and waste which needs to be deposited back in to the lungs and kidneys.  The first person to use up all of their oxygen wins.  L and I kept saying while we were playing how great this game is! 
It only uses red blood cells and L said good thing or this would be a game of war!
 Next up was making a model of our blood.  I gave her a handout on what our blood is made up of and what the job of each part is.  
We started filling the bottle with water and a bit of yellow food colouring to represent the plasma.  Then added lentils for the platelets and some cut up marshmallows for the white blood cells.  L then added a ton of Cheerios to represent the red blood cells with a bit of red food colouring.  So cool and gross!

 She finished off by doing a diagram of her work.


Monday, 1 December 2014

All About Egypt

We have a budding Egyptologist in our midst!
After starting The Story of the World-The Ancients it's all pyramids, pharaohs and mummies in our household.

L got a subscription to Little Passports for her birthday and the first country just happened to be Egypt.  L was beside herself with excitement.  It came with this tiny pyramid to excavate.  After a very long time trying to get out the treasure she finally unearthed a small bust of King Tut!
The Little Passports kit also came with a map and some cute activities.


We talked about how the ancient Egyptians wrote using hieroglyphics and invented papyrus paper.  We had a great time writing out messages to each other in hieroglyphics and trying to decode them.
The Story of the World also talks about cuneiform writing on clay tablets.  L wrote out a message into air drying clay.  

This was such an easy yet effective project.  Using toilet paper rolls and taping the tops together L was able to make some cat mummies.  She used gold paint and sharpies.  They are so cute!

I have to take a moment here to say how wonderful our library is.  L has read so many books on ancient Egypt she is somewhat of an expert.
One of her books had projects and games that children would have played in ancient Egypt.  One of the games was called senet and there were instructions on how to make up one to play.  L was soooo excited to make this.  We used an old chocolate box for the board and L made up sticks with Egyptian designs on them for the counting.  This is such a cool method instead of using dice.  You just throw the sticks and which ever ones land with the design up is the number you move your piece.  Such a simple concept but we had fun playing several games.

The biggest highlight of our Egypt study was our Egyptian family meal.  L read up on how the Egyptians ate on the floor and used only their hands and bowl of water for washing them.  We had bread, olives, feta cheese, falafels, cucumber, dates and several other things on a mat in our living room while listening to Egyptian music.  This was so much fun as everyone in the family dressed up.  
We made headbands for the kids with tin foil asps on them and I made up L's eyes with dark make up.  She was over the moon.  We also made collars earlier in the day that the kids coloured.

 Here is L's scrapbook that she created with facts and info on Egypt. If you look closely you can see some pics of our dinner.

Last thing.  I finally found some shrinky dink paper for L to made flags.  I've seen this idea all over Pintrest and L so badly wanted to do it.  She will make up a flag for all of our Little Passport countries to start.

Ancient Egypt was a blast!

Tuesday, 28 October 2014

Salominds in the Classroom-building a redd

We have been talking about each stage of the salmon life cycle.

Once the salmon has made it up stream the female begins to build a redd ( a sort of gravel nest) by swishing her tail.  Once she has laid her eggs the male covers the eggs with his milt to fertilize them.  The eggs should be protected under the gravel from predators and other dangers.

The children did an experiment to see how a successful redd is built and what can happen if there is not enough vegetation on the river banks.

They made about 30 tiny eggs out of clay and then collected different size pebbles.  They put the pebbles in two different containers and then placed the eggs in the pebbles.  On one side of the container they put a layer of sand.  Once held up the side of the container to replicate the river bank and the other poured water over the eggs.  In the second bowl they cover the sand with a green cloth to represent vegetation.  They then observed what happened to the eggs.


They both concluded that the vegetation overwhelmingly kept the eggs protected while without the vegetation the eggs were smothered in sand and washed around the container.

Sunday, 26 October 2014

Human Anatomy-The Digestive System

 We've finally made it to the digestive system!  Yay!  I've been looking forward to this one because there are so many cool activities to do.

After reading some books and watching a few videos on the digestive system as well as watching the Magic School Bus episode we got to work.

We got our ideas from this great blog post.
L measured out each part of her digestive system starting with her mouth using different coloured pieces of string.  I helped her tie them together and then she labelled them with their length.
mouth 3 inches, oesophagus 10 inches, stomach 6 inches, small intestine 15 feet, large intestine 4 feet.
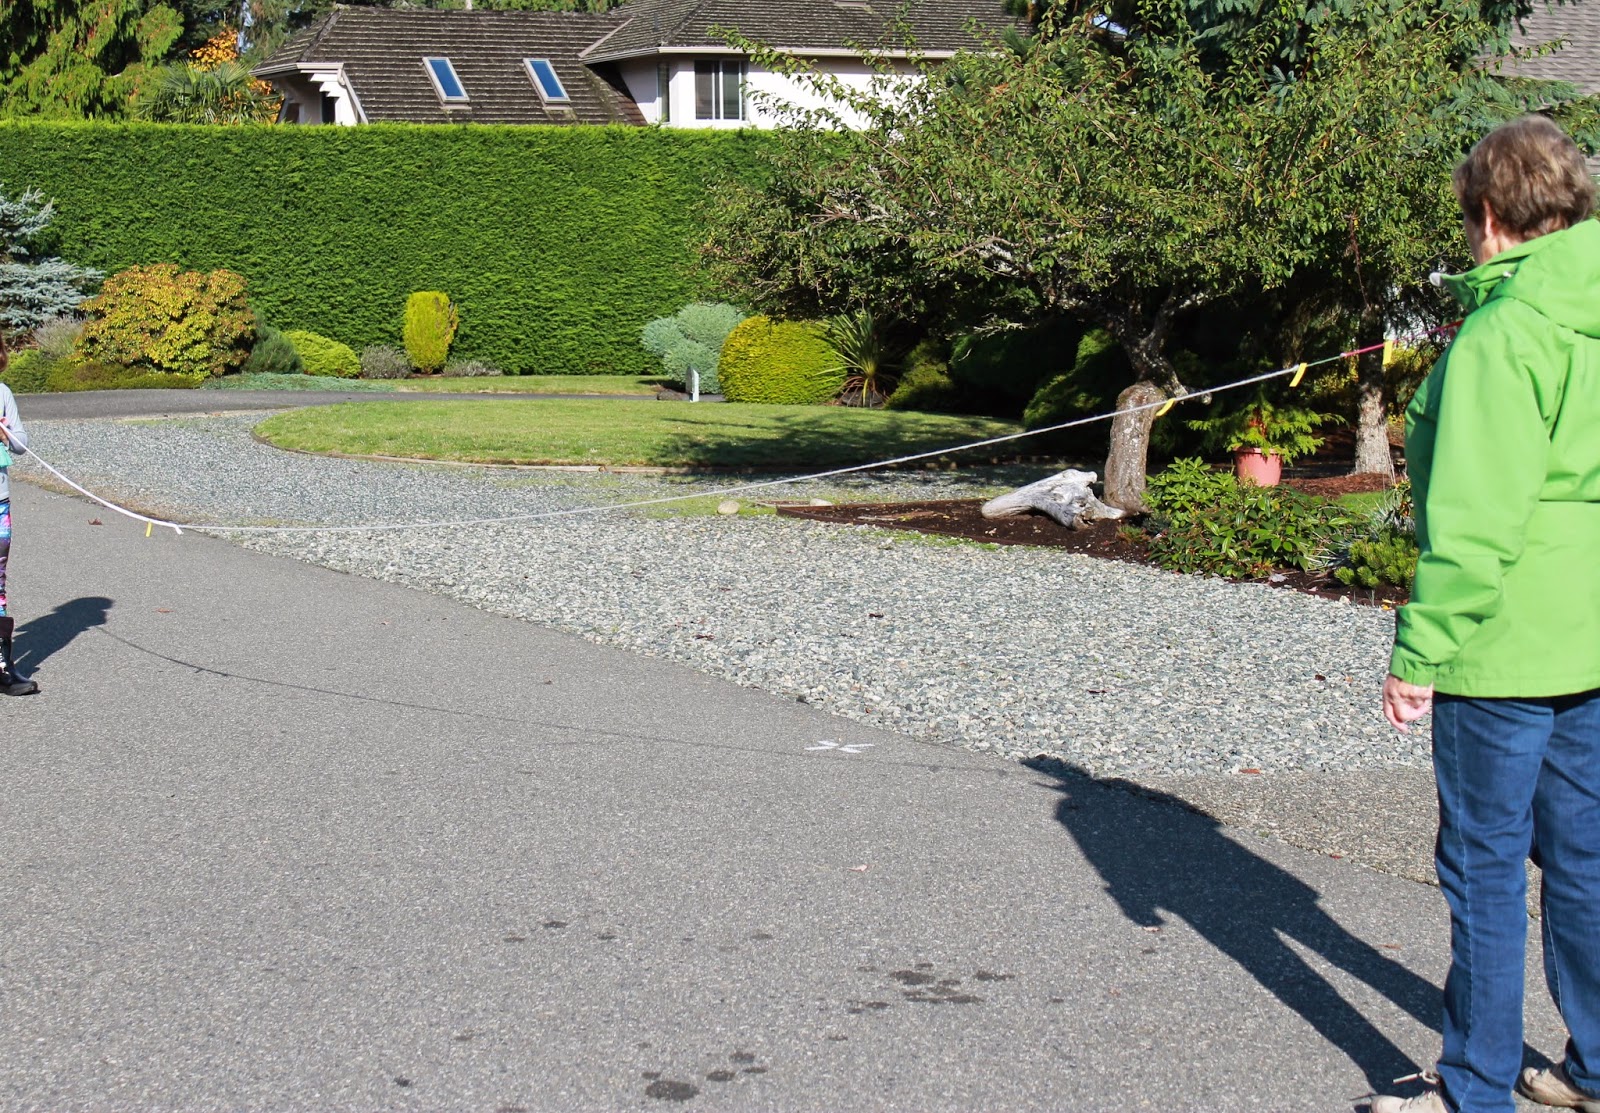
Once she had them all tied together we went outside to see how long her actual digestive system was.  She was floored and couldn't even believe that all fit inside her tiny body!  


I coiled it all on her stomach to get an idea of how it all fit in.


Now this was a super fun hands on demonstration of how the whole process of digestion works.

First off L cut up an almond butter sandwich to represent biting.
 She then mashed it up to represent chewing with her back molars.
 Then swallowing and going down the oesophagus into the stomach.
 Pour in some coke for stomach acid.
 Mash it up with your hands to represent the stomach muscles digesting.
 Once it's an ooy gooy mess pour it into the small intestine or in this case black sock.
 Use you hands like the muscles squeezing out the nutrients that are absorbed into the blood stream.
 Use paper towels around the sock for the large intestine to get all of the moisture out.
 Cut a hole in the tip of the sock and then for the grossest part.  Well you can guess....

Awesome!!!

The River System


We have moved on in our geography unit to rivers of the world.  I gave L a list of the top 10 longest rivers in the world and she had to find them in her atlas and then mark them on a world map.

We also went into more depth about actual river systems and after looking at some handouts on rivers and answering some questions L made up this diagram.

I love how she added in the little bird.


We found a wealth of information on the fantastic site Kid World Citizen.

Thursday, 16 October 2014

Human Anatomy-the Muscular System


I wasn't too excited about doing the muscular system since I wasn't sure what we were going to do for it but L really wanted to do it next so here is what we came up with.

We read some books from the library and talked about the three different types of muscles-smooth, cardiac and skeletal.  We also talked about how muscles work in pairs and L did an experiment observing how her bicep and tricep work together.

Together we made this model of how the muscles work on the arm using elastics.  The cardboard tubes represent the bones of the arm.  It was pretty tricky getting the elastics to fit into the holes and tie them etc. As L lowered her arm she could see how the elastic expanded and contracted.


L added the muscles to her body using tissue paper.  She drew red lines with a crayon to represent the stripes in the muscles.  She then labeled the major muscles.

During the labelling Daddy came home and it was perfect timing as when he got out of the shower I asked him to come to the kitchen with his shirt off.  He has very little body fat so we were able to see each of the major muscles in action and L was able to name them.

Next up was seeing how the tendons work on the hand.  I found a tutorial here.  L and I cut the straws and she threaded embroidery thread into them and L tied a bead to the end.  I did the tricky work of taping the straws to the paper.
It was really neat to see how pulling the threads all together would make the fingers move or just pulling one would make that finger move.

Wednesday, 15 October 2014

Ocean Zones

L has been interested in the different zones of the Ocean for ages and I keep promising her I will help her make a diorama.  Well that day finally happened today.

L had taken out two of her books on the subject last night and was reading them before bed.  This morning she had them out again and was reading them to LJ.  This is where the beauty of homeschooling comes in.  I scrapped all previous plans and asked if she wanted to make a diorama.  She was all over it.

We used a shoe box and L painted the layers with different shades of blue.  We were lucky enough to have an Ocean sticker book from the Natural History Museum that has all of the deep sea creatures.  Once she added all of the animals she typed up the labels and glued them on.


The books she used were 100 Facts Deep Ocean by Miles Kelly and Ocean Sticker Book from Natural History Museum.


Just love having the flexibility to follow L's interests and expand upon them!

Monday, 13 October 2014

Topographical Maps

Last week we were all about topographical maps.  We started off by looking at a handout on how topographical maps are made and looked at the physical picture of a place and then the topographical map.

Then the fun began.  L made up a tiny mountain range with two peaks.  She trace around it and then I took a piece of string and sliced a layer off the bottom.  She traced her mountain range again.  I kept slicing off layers and she kept tracing them until at the end she had made a topographical map of her mountain range.  We decided that each layer would represent 10meters so at the end L was able to see how tall each peak was.  It was so cool that we tried a few other types of mountains.


Once she had a firm understanding of how a topographical map is made she matched the landforms on this sheet.  L wanted to make one of the landforms so we did the opposite and made layers from one of the topographical maps and put them together.

Yup.  A topographical map of L's hand.  She loved this!


Sunday, 28 September 2014

Maps and Mapping

We started our mapping study by re-reading Me on the Map by Joan Sweeny.  We did several activities years ago with this that you can read about

This time L made a map of her bedroom.  I love how she drew her chair from a bird's eye view!


We also read the fantastic book Follow that Map by Scot Ritchie .  The book follows a group of children looking for their pets through all different types of maps.
I brought out of a map of our town and L and I took turns giving each other compass directions to different places.  We also looked in our family atlas (which happens to be from 1965!!!) and enjoyed seeing how different countries had changed names and borders.  The population maps were also very interesting!

Next up was making a treasure map.  We found some wonderful tutorials on Youtube that we followed.  Below is L's treasure map.  She wrote the directions to the treasure on the back of the map.

We talked about topographical and physical maps and then prepared to make a physical map of Africa.  Once again looking at the atlas and maps on the Internet L sketched out different landforms on a small map of Africa.

I then drew an outline of Africa on a big  piece of card stock and L added in all of the landforms.  She used modelling clay for the mountains, embroidery thread for the rivers, felt for the lakes and sparkles for the deserts. So much fun!

After she completed the landforms she made a legend and labelled all of the major rivers, lakes, mountains and deserts.


Friday, 19 September 2014

Human Anatomy-The Respiratory System

Getting back to human anatomy the last system we studied was the respiratory system.  

We started off at lunch with a bunch of grapes.  I explained to L how our lungs are like a bunch of grapes in that the stem looks like the bronchi to one lung, the smaller branches are like the bronchioles and the grapes are the air sacks or alveoli.


We played some fun games blowing a feather across the table using different strengths of breath and felt how we can breath low down taking big breaths.  We experimented with how big deep breaths can calm us down and relax us.
I then set up a game for L using bean bags as oxygen.  We wrote labels along our deck of mouth, lungs and muscles.  L had to grab a bean bag(oxygen) from the mouth-take a deep breath in and then run to the lungs and then to the bottom of the deck where the muscles were.  At the muscles she did jumping jacks until she was out of breath then she dropped her oxygen and had to run up to the mouth to get more.
This was a fun way to burn off some energy while learning about how our muscles need oxygen and the harder our body works the more oxygen it needs.


L added in the lungs using bubble wrap and straws for the trachea and bronchi.  She drew in the bronchioles in the lungs with a marker.

This was by far the coolest.  Making a human lung model.  Super easy to make.  We cut the end off a plastic bottle, cut the top off a balloon and attached it to the end.  We then attached another balloon to a straw and pushed it down into the bottle.  We sealed up the top with play dough.
L pulled down on the bottom ballon (diaphragm) and the balloon lung filled up with air!  
So simple yet effective.  It was eye opening seeing how really important our diaphragm is. It really doesn't get enough credit!


The last thing L did was an experiment using different age family members.  L recorded our breaths for a minute at rest and then again for after a minute of exercise.  She did this with a 2 year old, me, herself, daddy and granny.
What she found out is that younger people take more breathes in general and everyone takes more breaths after exercise.
She recorded all of her data in a double bar graph.

Next up the muscular system.....

Thursday, 18 September 2014

Salmonids in the Classroom

The whole reason we started studying human anatomy is because we wanted to dissect a salmon!  Yup L's daddy is a super fisherman and we are usually up close and personal with fish all summer so salmon dissection was a natural thing to want to do.  I figured it would be best to learn about human anatomy so we could compare and contrast.

While searching for info on salmon dissection I just happened upon this amazing program called Salmonids in the classroom.  It was created by the Canadian department of fisheries and is an online collection of lesson plans and experiments covering everything you could possibly ever want to know about salmon.  For free!!  Here is the link.

The best part is that we teamed up with another homeschooling boy(A) of the same age who also went through Montessori.  We meet each week and go through different topics.

First off we talked about the salmon life cycles and compared it to other life cycles.  We discussed what salmon need to survive compared to other species.

Next we learned about how fish are shaped and experimented with making clay models of different shapes including an excellent fish shape created by A.  They children compared how each shape moved through the water and the overwhelming answer was the fish shape.  It really was incredible how easily the fish moved through the water and how it easily could be moved up and down.

Next was learning about the salmon external anatomy.  We did an experiment on how gills work using coffee grains and water in one cup poured over a paper towel into another cup.  The coffee grains represented the oxygen in the water and how some of it was absorbed by the paper towel(gills) while the water and other oxygen was passed through.  
Did you know that salmon use their sense of smell to find their home stream?

After external anatomy we delved into internal anatomy.  The children wrote labels for each part of the fish to use for the dissection and we compared salmon body parts to humans.  Fascinating!  Do you know what a swim bladder is? We do now!

The day of the big salmon dissection we invited A's family over for a BBQ.  L's daddy did the dissecting the all the children were right in there.  They labelled all of the parts and then went through the organs one by one.  Our fish turned out to be a female and had tons of eggs!


It was such a wonderful hands on learning experience for everyone and the best part is that we ate the rest of the salmon for dinner!
Up next salmon scales, eggs and so much more.....